 Office AutoPilot is an all-in-one marketing solution for internet marketers and small businesses.
I find myself slowly being drawn in to use it for my own personal business the more I work with it for clients.
Today I found myself needing to add a “Thank You” page for one of my clients. If you don’t know what a “Thank You” page is, it is a page that people who buy your products are directed to after they submit payment.
Figuring this should be a simple and quick link placement in Office AutoPilot’s dashboard I found that wasn’t the case.
Here’s why…
I had no clue where the option to place the link was.
I’ve taken no training and have worked with a lot of online software tools and technologies so I figured I find my way. Well about 10 minutes in I realized I was wasting my time trying to figure it out and tried good ‘ol Google for the answer.
Surprisingly, there were not a lot of results at all from my queries. There was one in particular that helped me figure it out though.
So I figured I’d create this post not only for my future reference, but for any other online businessman that needs to figure out how to set their “Thank You” page to a specific url.
1. Login and Click the “Sales” tab

2. Select “Forms” from list
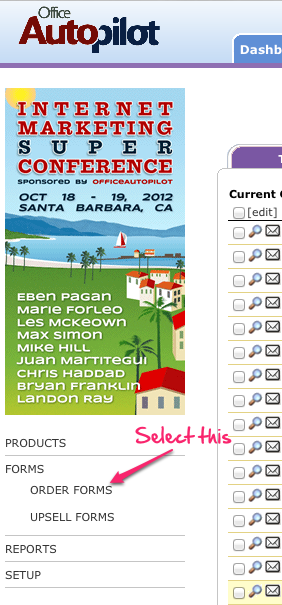
Here’s where I got lost. I simply did not see those “hidden” links to the left of the page under the ad. If you don’t know to look here you will more than likely miss it as I did several times.
Make sure to select “Order Forms” after the Forms list expands.
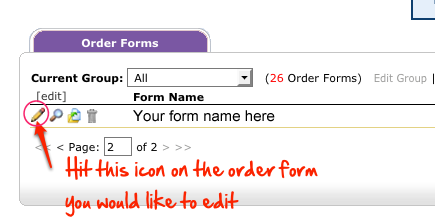
3. Select which form you want to edit
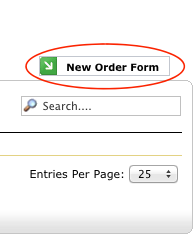
NOTE: If you just want to create a new order form (otherwise skip to step 4)
If you have not created an order form you will select this option instead to create one
4. Paste the custom url

The link you paste here can be ANY link you would like. Just keep in mind that someone will only get automatically directed to this page once they have made a successful payment.
For online marketers this provides a great opportunity to deepen the buying experience for the end user.
5. Save it and go
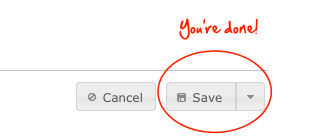
That’s it! You now know how to create, edit, and customize order forms in Office Autopilot.


3 comments
google.com
Good day! I could have sworn I’ve visited this blog
before but after browsing through many of the articles I realized
it’s new to me. Anyways, I’m definitely happy I
found it and I’ll be bookmarking it and checking
back frequently!
Kris
thankyou so much , I was struggling with trying to find the order form link.
Chris Davis
Lol, no problem.
A lot of times the easiest, most useful, links are in the strangest places.